
diff options
| author | Akshay <[email protected]> | 2021-03-17 12:29:43 +0000 |
|---|---|---|
| committer | Akshay <[email protected]> | 2021-03-17 12:29:43 +0000 |
| commit | 3e0f620a933cf2a9325d051e87952edb1c3f9270 (patch) | |
| tree | 8e18948f6f48bf0e64571febc99fdc0d976aad62 /posts | |
| parent | 6ae6d2e458747cf5a30f204c727d45121ff3e8e4 (diff) | |
new post: sdl2 devlog
Diffstat (limited to 'posts')
| -rw-r--r-- | posts/SDL2_devlog.md | 139 |
1 files changed, 139 insertions, 0 deletions
diff --git a/posts/SDL2_devlog.md b/posts/SDL2_devlog.md new file mode 100644 index 0000000..0b05c90 --- /dev/null +++ b/posts/SDL2_devlog.md | |||
| @@ -0,0 +1,139 @@ | |||
| 1 | I have been working on an editor for the [One Bit | ||
| 2 | Image](https://git.peppe.rs/graphics/obi/about) file format in | ||
| 3 | Rust and SDL2. This entry in my blog follows my progress on | ||
| 4 | the editor. The days are listed in reverse chronological | ||
| 5 | order, begin from the bottom this is your first time on this | ||
| 6 | page. | ||
| 7 | |||
| 8 | ### Day 10 | ||
| 9 | |||
| 10 | I started reading up on dithering methods and half-toning, I | ||
| 11 | wanted to create a dithering brush that would automatically | ||
| 12 | produce popular dithering patterns. The method that caught | ||
| 13 | my eye (and also the one used most often in pixel art), was | ||
| 14 | Bayer's ordered dithering. When applied to a black and white | ||
| 15 | image, each pixel, based on its intensity, is mapped to a | ||
| 16 | 4x4 grid of pixels. A completely empty (completely black) | ||
| 17 | 4x4 grid represents zero intensity, and a filled 4x4 grid | ||
| 18 | represents full intensity. Bayer's ordered dithering can | ||
| 19 | produce 15 steps of intensity between zero and full (by | ||
| 20 | switching on exactly 1 pixel more at each level), thus, | ||
| 21 | being able to draw 17 "shades" from white to black. Creating | ||
| 22 | a dithering brush from here was fairly trivial. Our pixmap | ||
| 23 | is supposed to represent the final dithered image, it must | ||
| 24 | be divided into 4x4 grids. Each grid is colored based on the | ||
| 25 | intensity of the brush passing over it: | ||
| 26 | |||
| 27 | 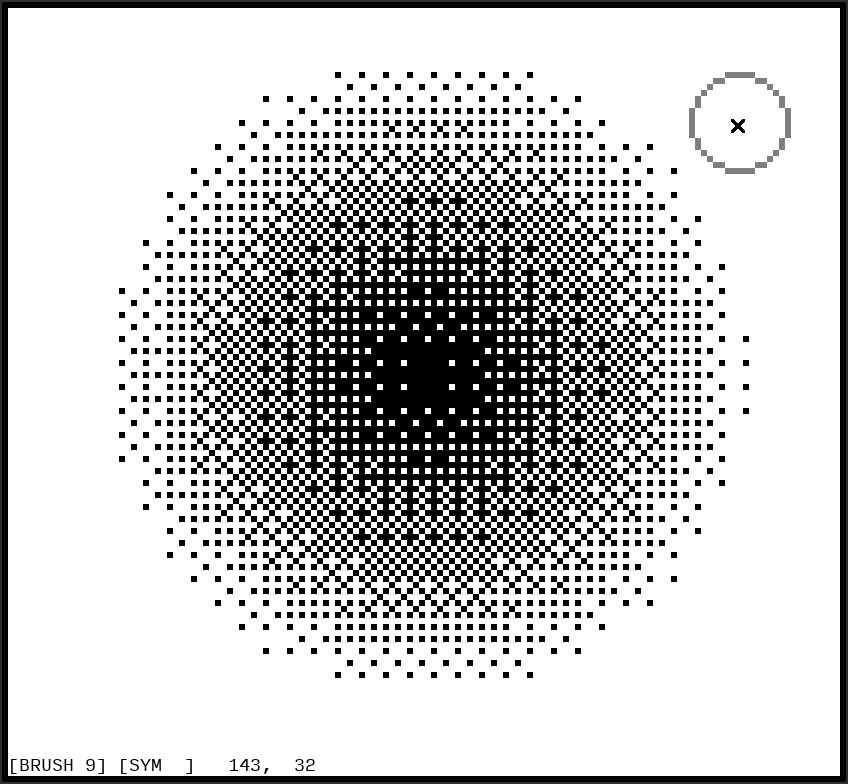 | ||
| 28 | |||
| 29 | |||
| 30 | ### Day 9 | ||
| 31 | |||
| 32 | I started working towards an interface. I like the idea of a | ||
| 33 | largely read-only HUD, i. e., an interface that simply | ||
| 34 | describes the state of the application. Changes to this | ||
| 35 | state are initiated via keybinds or text commands. I am | ||
| 36 | proud of the symmetry indicator; `-` for horizontal | ||
| 37 | symmetry, `|` for vertical symmetry, `+` for radial | ||
| 38 | symmetry. | ||
| 39 | |||
| 40 | 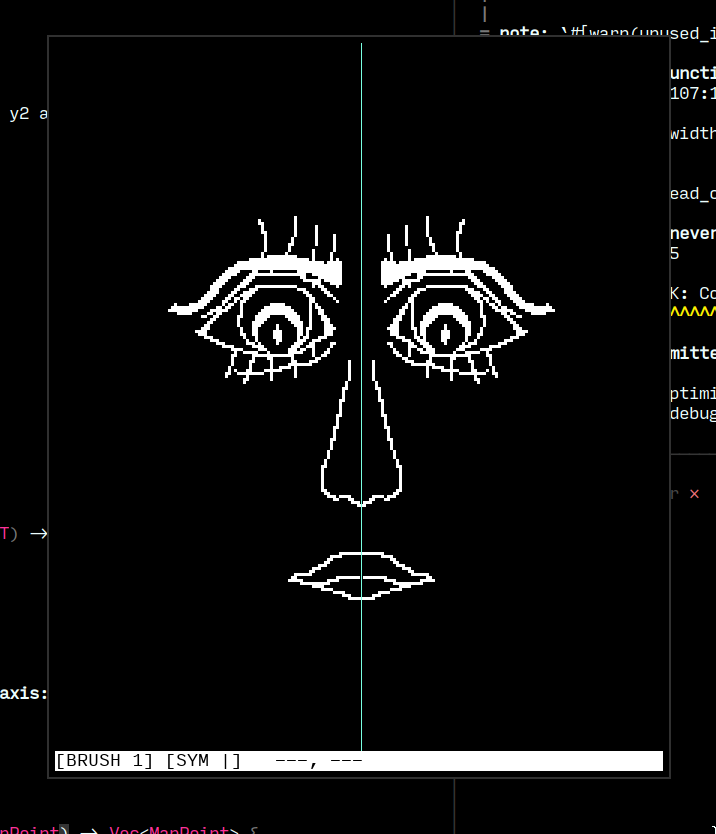 | ||
| 41 | |||
| 42 | ### Day 8 | ||
| 43 | |||
| 44 | One of my favourite features of GIMP was symmetric editing. | ||
| 45 | I added some coordinate geometry primitives to my pixmap | ||
| 46 | abstraction, allowing for mirroring and reflecting figures | ||
| 47 | about lines or points. The result was an ergonomic function | ||
| 48 | that applies symmetry to any painting operation, (undo/redo | ||
| 49 | works as expected): | ||
| 50 | |||
| 51 | ```rust | ||
| 52 | let line = self.pixmap.get_line(start, end); | ||
| 53 | let sym_line = self.symmetry.apply(&line); | ||
| 54 | for point on line.extend(sym_line) { | ||
| 55 | // draw to window | ||
| 56 | } | ||
| 57 | ``` | ||
| 58 | |||
| 59 |  | ||
| 60 | |||
| 61 | ### Day 7 | ||
| 62 | |||
| 63 | Bresenham saves the day again! This time, I implemented his | ||
| 64 | line drawing algorithm, to, well, draw lines. Each point on | ||
| 65 | the line is then "buffed" based on the active brush size. | ||
| 66 | Today's changes fit in very well with the undo system and | ||
| 67 | the brush size feature. Creating the right abstractions, one | ||
| 68 | at a time :) | ||
| 69 | |||
| 70 |  | ||
| 71 | |||
| 72 | |||
| 73 | ### Day 6 | ||
| 74 | |||
| 75 | I extended Bresenham's algorithm to draw not just circle | ||
| 76 | outlines, but also generate their fills. Unlike Bresenham's | ||
| 77 | algorithm, this variant generates points for two quadrants | ||
| 78 | at once, these points are mirrored over the dividing axis to | ||
| 79 | generate the other two quadrants. | ||
| 80 | |||
| 81 | 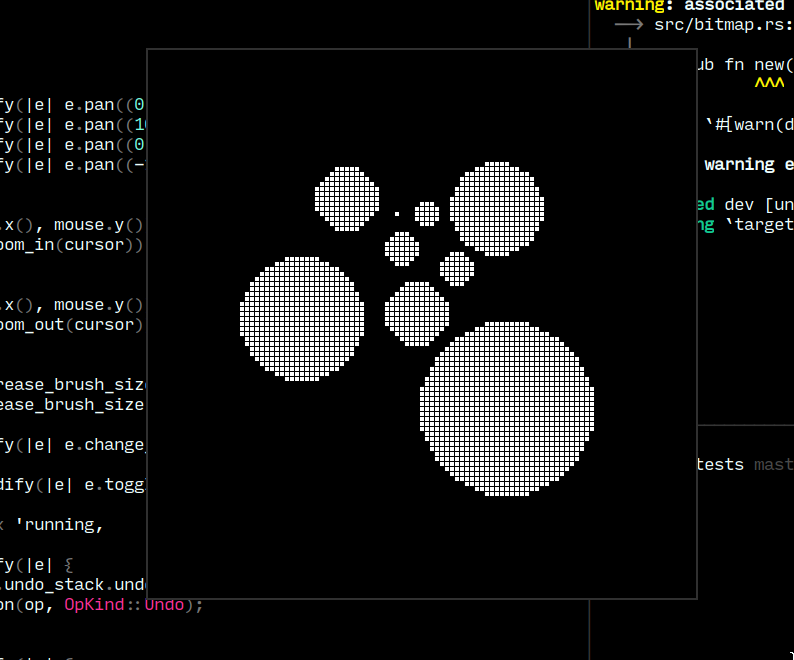 | ||
| 82 | |||
| 83 | ### Day 5 | ||
| 84 | |||
| 85 | I discovered and implemented Bresenham's algorithm for | ||
| 86 | efficient circle drawing. The algorithm allowed for sized | ||
| 87 | circular brushes, something I really liked from GIMP. Very | ||
| 88 | convenient that the Wikipedia page for Bresenham's algorithm | ||
| 89 | also includes a section about optimizing for integer based | ||
| 90 | arithmetic. I managed to abstract out another giant | ||
| 91 | component of the application, the pixmap. Any image is just | ||
| 92 | a grid of pixels (a pixmap), where the pixel's value is | ||
| 93 | decided by the application (1-bit in my case). I could | ||
| 94 | potentially extend the application to a 24-bit image editor! | ||
| 95 | |||
| 96 |  | ||
| 97 | |||
| 98 | |||
| 99 | ### Day 4 | ||
| 100 | |||
| 101 | I created a generic "undo stack" data structure that allows | ||
| 102 | for infinite "undos" and "redos". Every modification | ||
| 103 | operation to the grid is persisted to the application state. | ||
| 104 | A couple of keybinds allow the user to revert and re-apply | ||
| 105 | these operations! I expect abstracting this component will | ||
| 106 | come in handy down the line. | ||
| 107 | |||
| 108 |  | ||
| 109 | |||
| 110 | |||
| 111 | ### Day 3 | ||
| 112 | |||
| 113 | I implemented the bare minimum required to call the program | ||
| 114 | and "editor". The application displays a grid, tracks mouse | ||
| 115 | events, paints white to the canvas on left click, and black | ||
| 116 | to the canvas on right click. I created a make-shift MVC | ||
| 117 | architecture à la Elm in Rust. | ||
| 118 | |||
| 119 |  | ||
| 120 | |||
| 121 | ### Day 2 | ||
| 122 | |||
| 123 | I started figuring out event handling today. Implemented a | ||
| 124 | couple of keybinds to zoom in/out of the drawing area. | ||
| 125 | Conversions of SDL2 coordinates (measured in signed 32 bit | ||
| 126 | integers) to my internal "drawing area" coordinates | ||
| 127 | (measured in unsigned 32 bit integers) is very annoying. | ||
| 128 | Hopefully the unchecked conversions won't haunt me later. | ||
| 129 | |||
| 130 |  | ||
| 131 | |||
| 132 | ### Day 1 | ||
| 133 | |||
| 134 | Getting started with Rust and SDL2 is very straightforward. | ||
| 135 | The `rust-sdl2` library contains some detailed examples that | ||
| 136 | allowed me to get all the way to drawing a grid from a | ||
| 137 | `Vec<bool>`: | ||
| 138 | |||
| 139 | 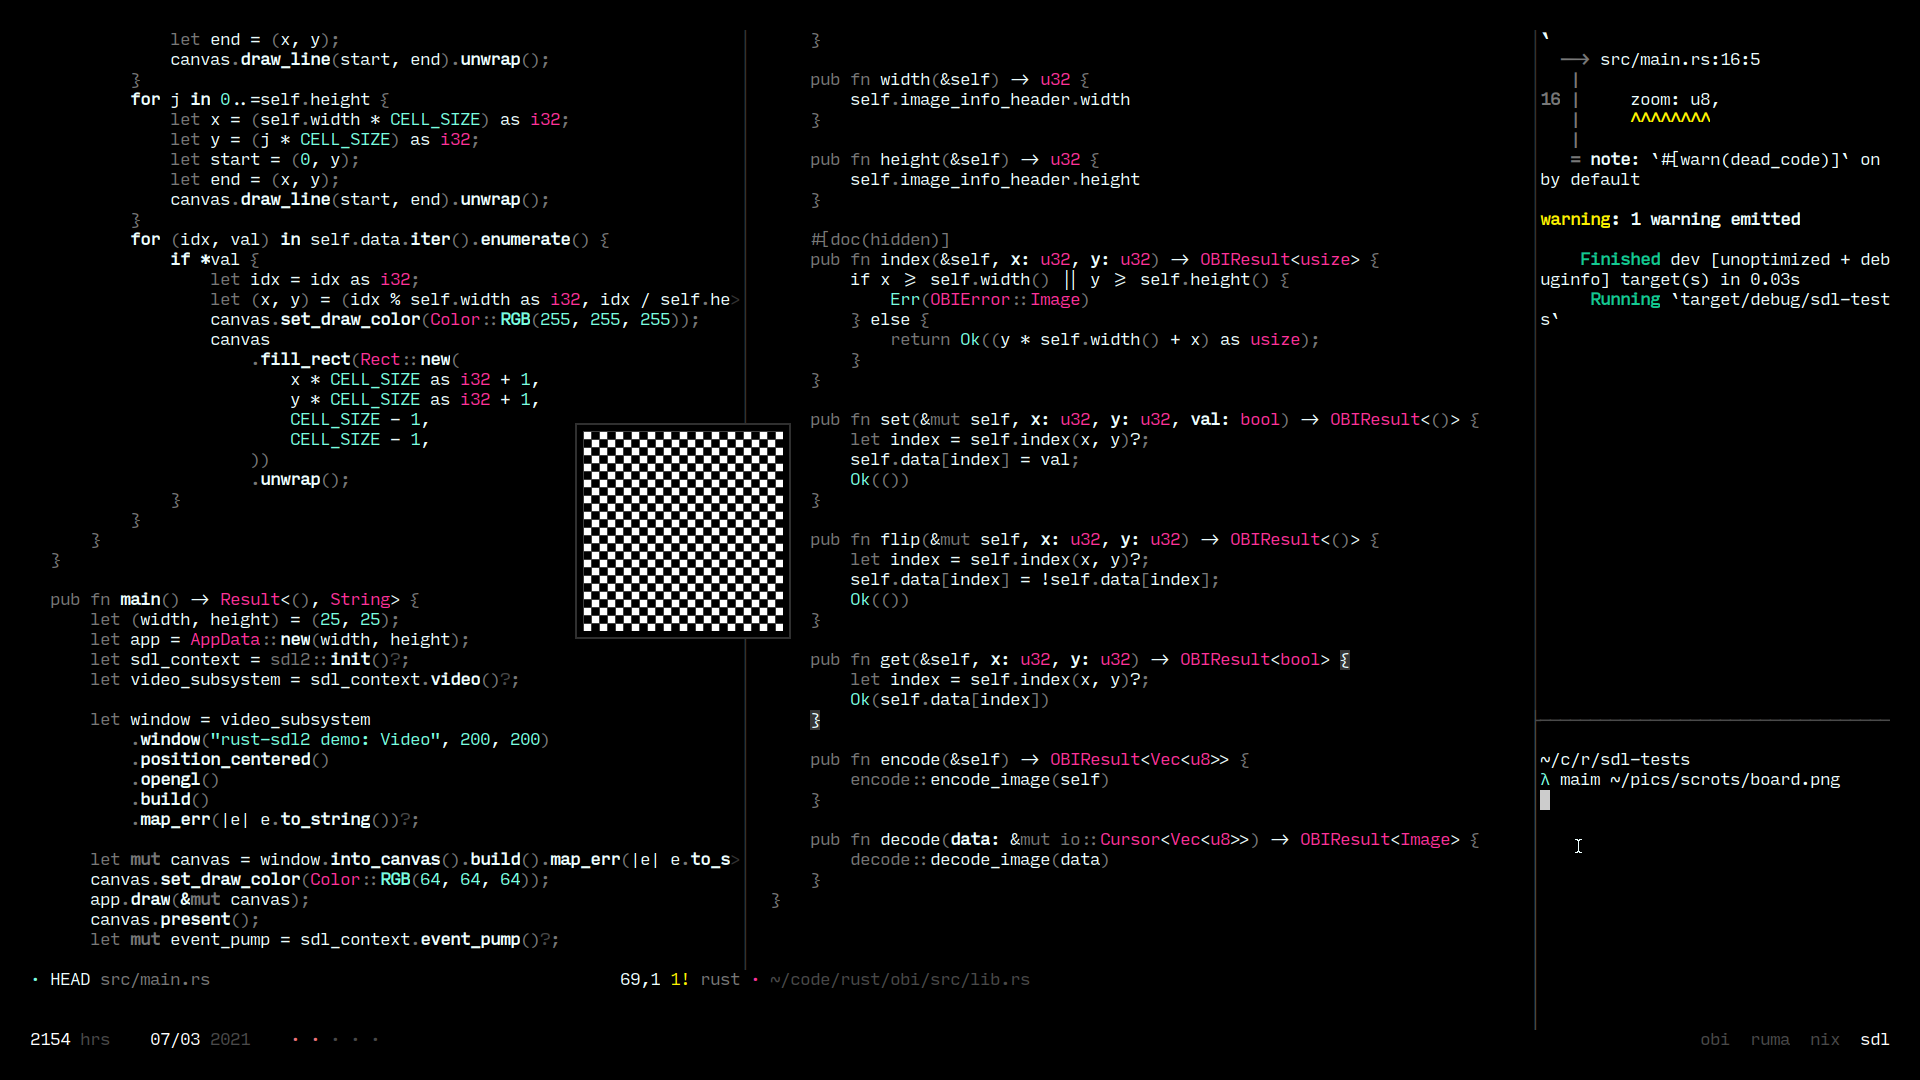 | ||