1
2
3
4
5
6
7
8
9
10
11
12
13
14
15
16
17
18
19
20
21
22
23
24
25
26
27
28
29
30
31
32
33
34
35
36
37
38
39
40
41
42
43
44
45
46
47
48
49
50
51
52
53
54
55
56
57
58
59
60
61
62
63
64
65
66
67
68
69
70
71
72
73
74
75
76
77
78
79
80
81
82
83
84
85
86
87
88
89
90
91
92
93
94
95
96
97
98
99
100
101
102
103
104
105
106
107
108
109
110
111
112
113
114
115
116
117
118
119
120
121
122
123
124
125
126
127
128
129
130
131
132
133
134
135
|
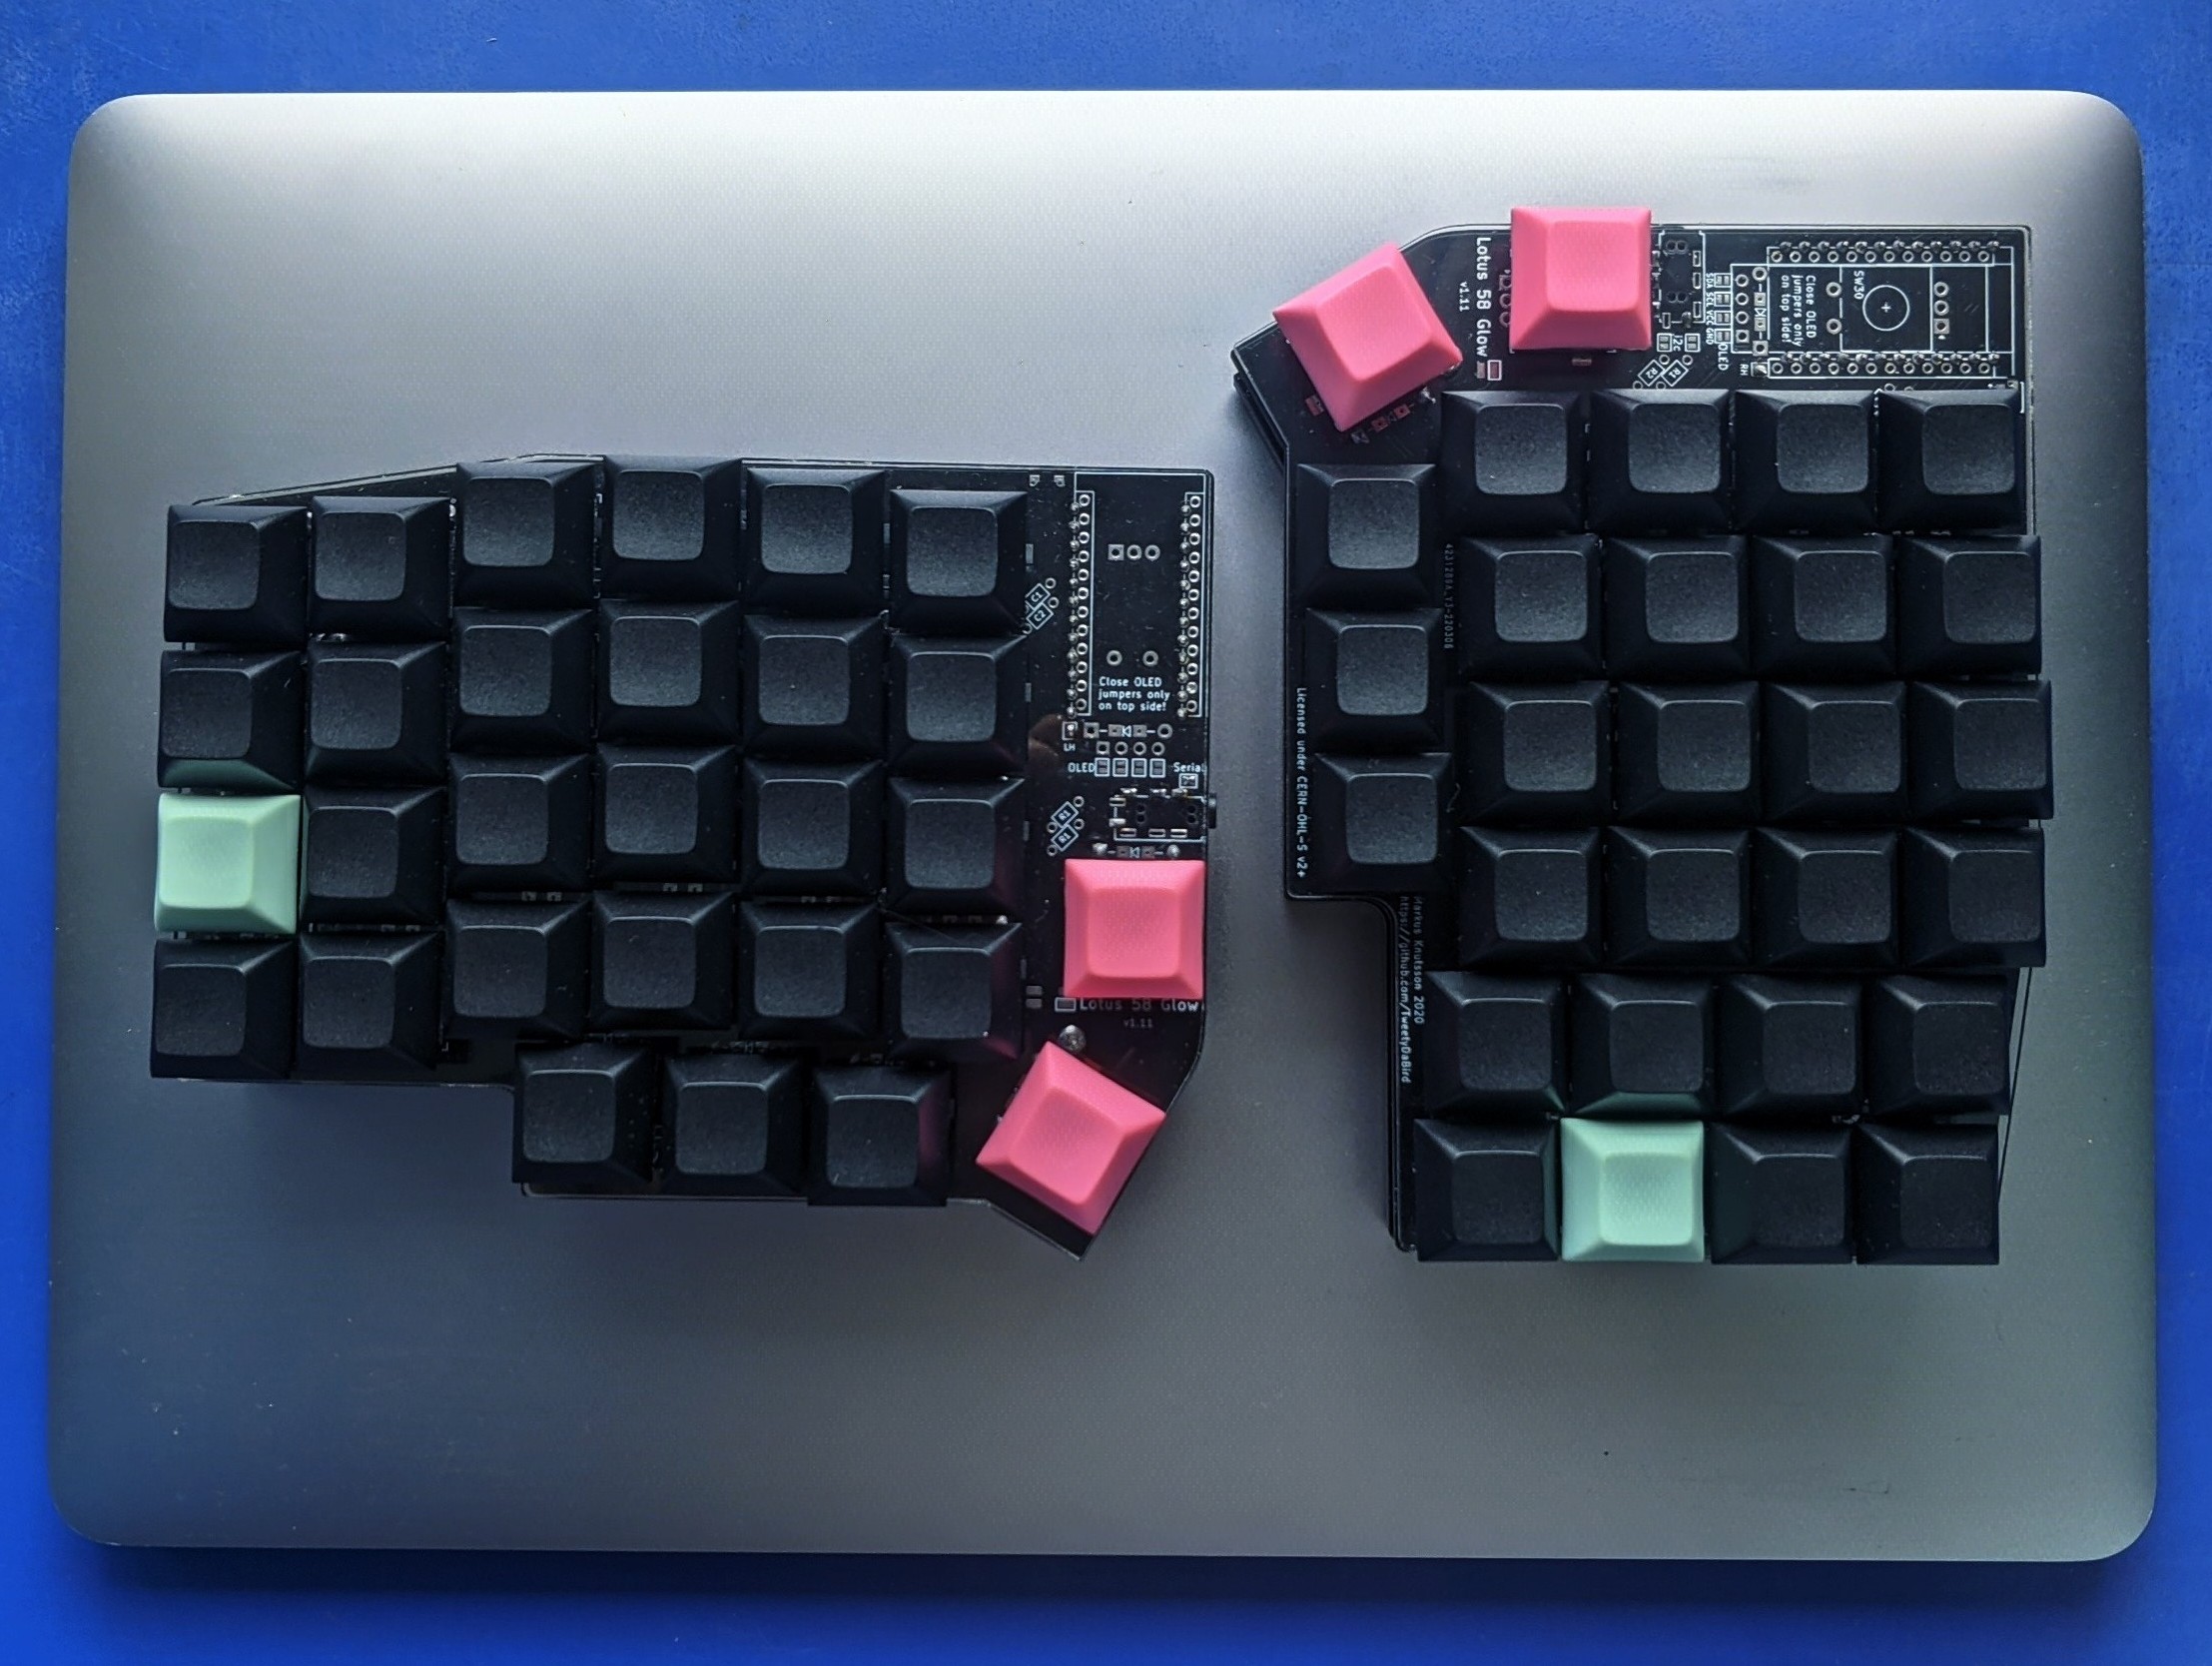
Earlier this month, I decided that I would laugh at Indian
customs in the face by building a split-ergo mechanical
keyboard from scratch rather than purchasing a Moonlander.
## Sourcing the parts
If you, like me, live in India, you might find this section
useful. My approach to finding parts:
- Check reputed, local online stores
- Check physical hardware stores
- Import the part
### PCBs
This was by far the hardest component to procure.
Fabrication services have certain _capabilities_.
Capabilities are the limitations of a fabrication service.
For example, a service may be capable of drilling holes no
smaller than 0.3mm in diameter. Most sites have a
verification process to check if their capabilities meet
your design's requirements. I tried a few local PCB
fabrication services:
- Lion PCB: Capabilities did not meet my requirements
- PCBPower: Capabilities did not meet my requirements
- Circuitwala: Capabilities did not meet my requirements
I settled for JLCPCB, a Chinese service. PCBs themselves
were 16 USD, shipping was another 35 USD, and customs was
another 3.5K INR (ouch).
### Case material
I don't really have a case for the Lotus58, it is more of a
"plastic sandwich". I purchased acrylic plates from Robu.
Cheap, fast, solid, and customizable. I cannot recommend
Robu enough. A full set of plates (2 top plates and 2 bottom
plates) cost me about 500 INR. I also bought a pair of
laptop height raisers on Amazon to create a budget tenting
setup.
### Electronics
You'll need a few rather specific electronic components such
as hotswap sockets and TRRS mounts, the rest are commonly
available:
- Hotswap sockets: StacksKB
- TRRS mounts (PJ 320A): StacksKB
- Diodes (1N4841): StacksKB
- M2 screws: StacksKB
- M2 spacers: ThinkRobotics
- Arduino Pro Micro: Robu
I skimped out on optional components such as OLEDs and
rotary encoders.
### Switches and Keycaps
Arguably the most fun part of the build:
- Gateron Oil King switches: Rectangles
- DSA blanks: Meckeys
## Building the keyboard
The the build is extremely straightforward. Through hole
components are easy to solder. Be wary of component
placement and orientation. Check thrice, solder once. Few
debugging tips:
- if a single key does not actuate, check the hotswap for
poor soldering (reflow the joint), and the switch pins for
deformation during installation
- if an entire column or row activates on a single
key-press, a connection has been shorted
- if only some of the keys on a given row actuate, a diode
has been soldered on the wrong way
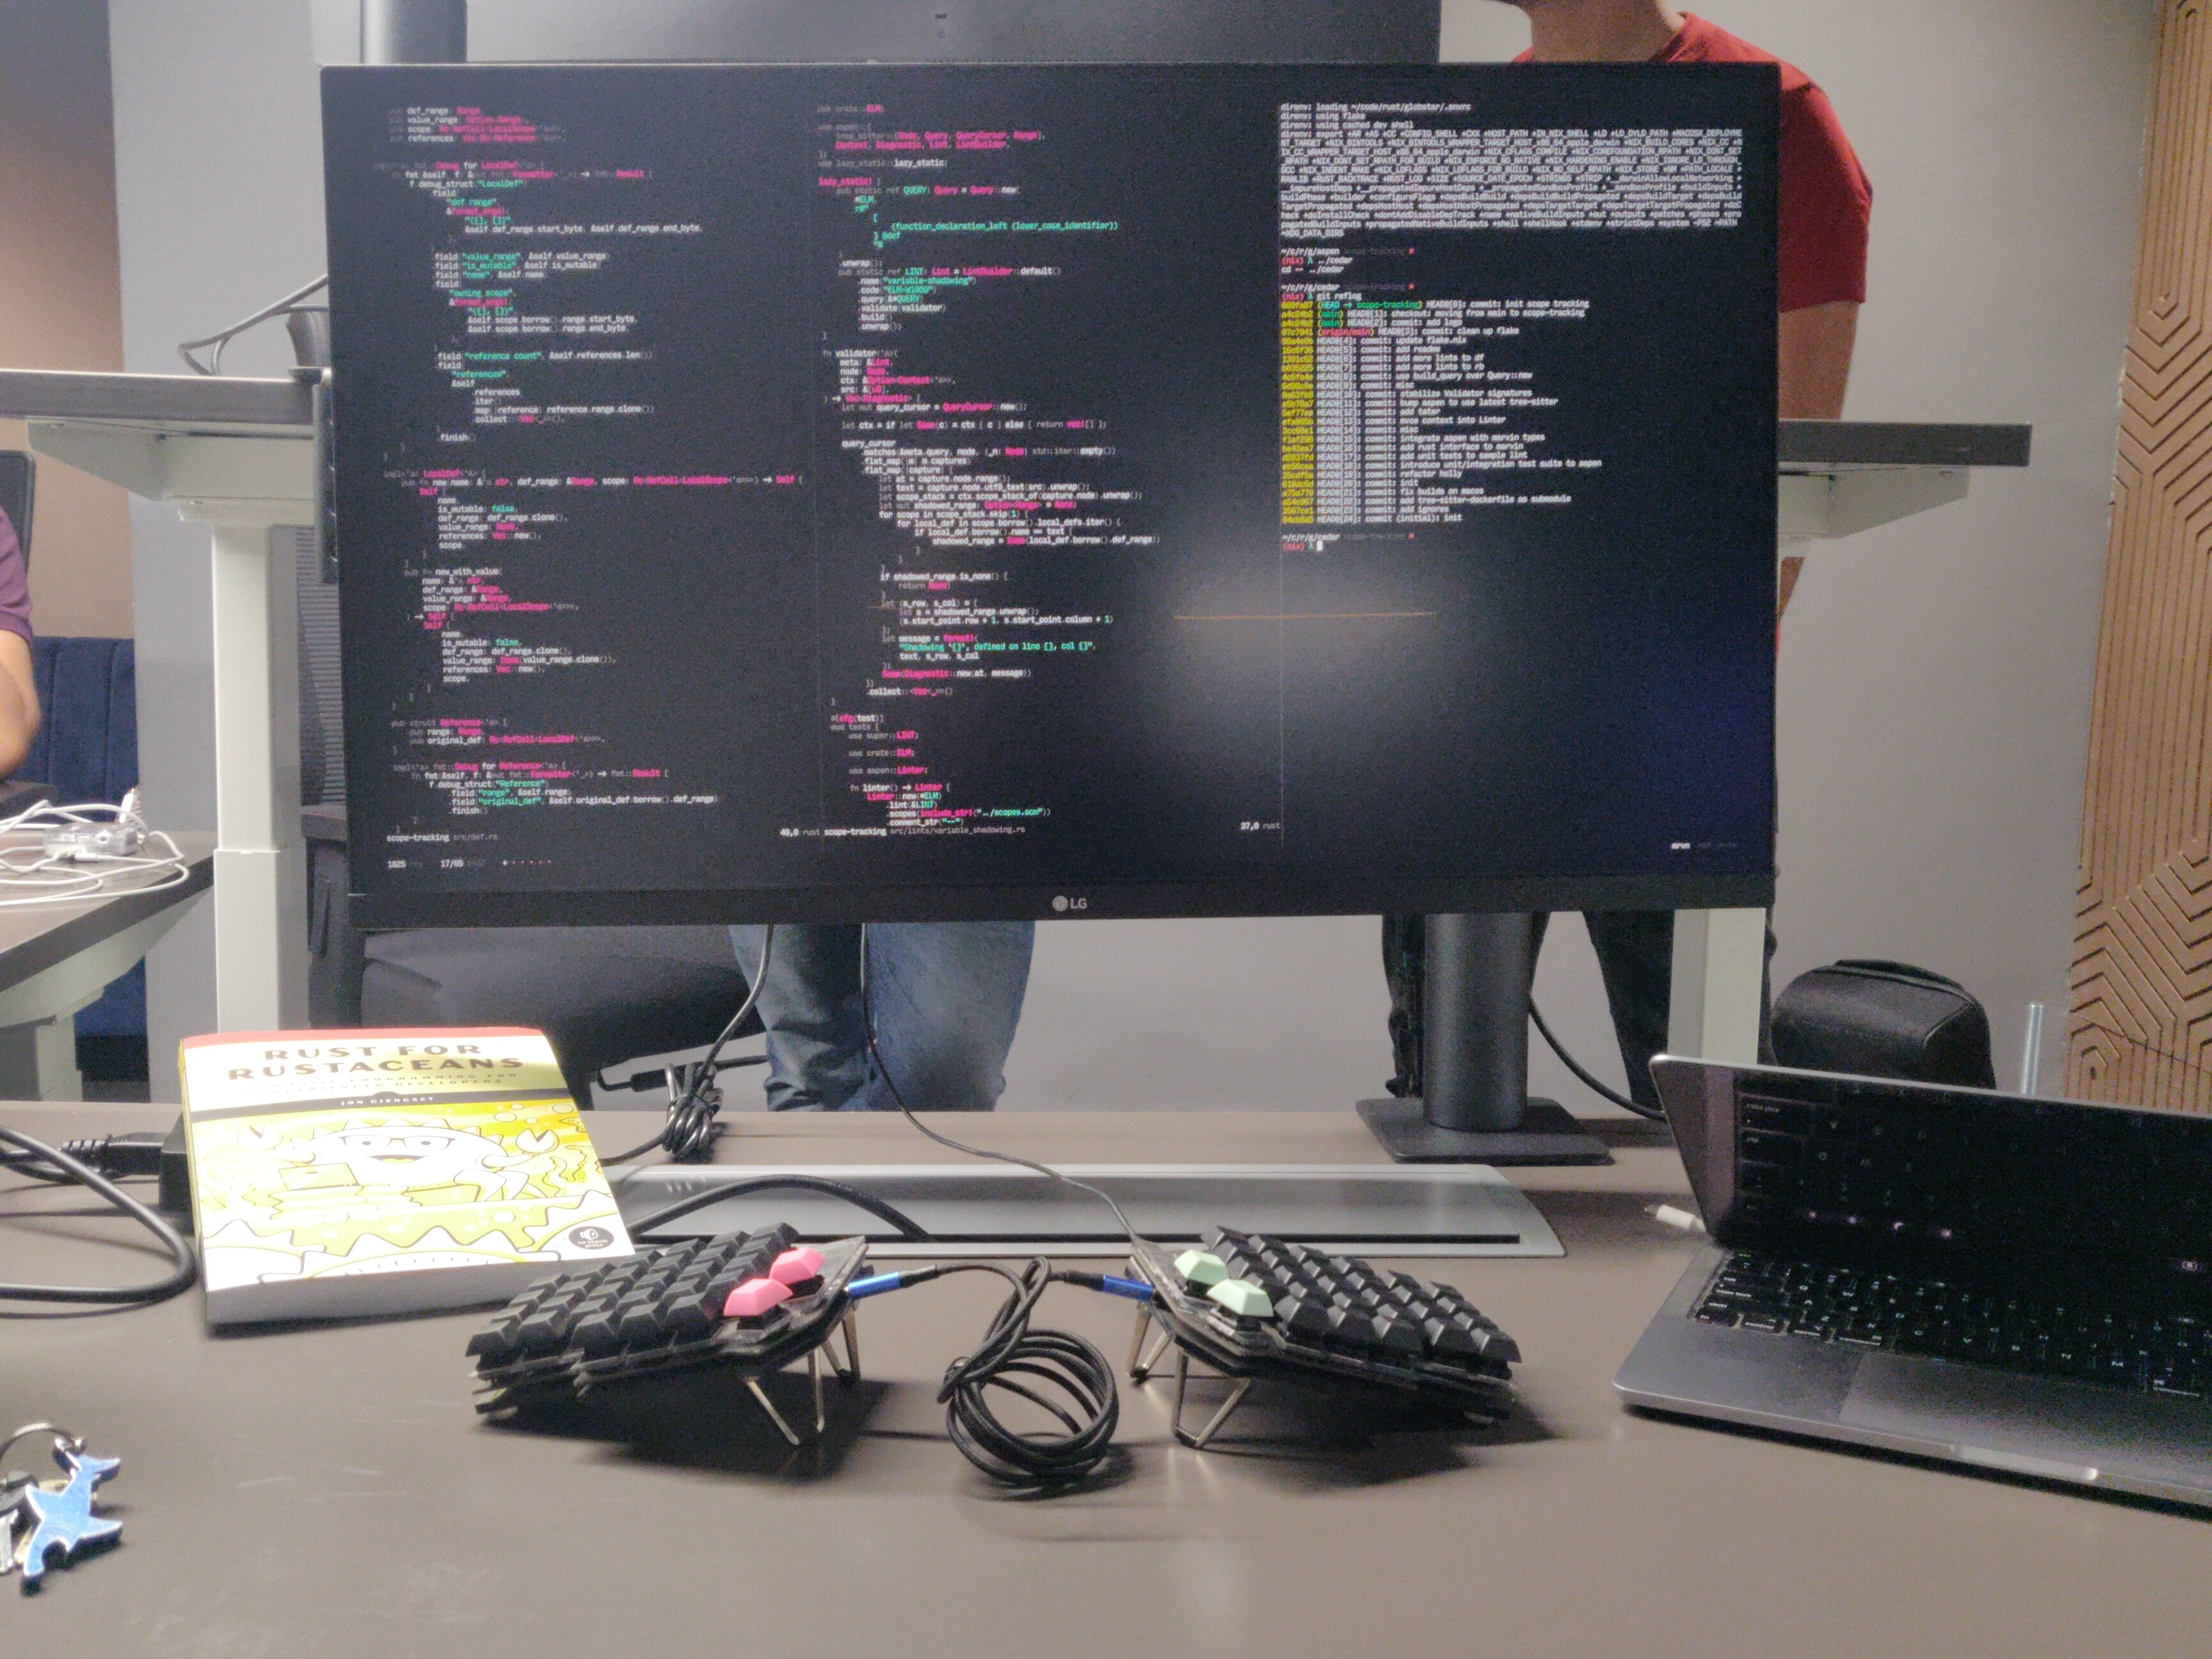
## The typing experience
I decidede to give QWERTY the boot and learn Colemak along
with the new keyboard. The first few weeks were terrible
because I could neither type QWERTY nor Colemak, but I got
the hang of it pretty quickly. Typing websites do help, but
it is best to simply use it in your daily workflow. No site
can help you get accustomed to the various things you use
your keyboard for such as switching windows or navigating
vim/tmux.
### Colemak
Alt layouts such as Colemak are definitely worth it. I find
that Colemak reduces finger movement a lot, a good portion
of the keys on the left hand are the same as QWERTY, it
is fairly easy to pick up as well.
### Vim
Using an alt layout means most programs with keyboard
shortcuts are not going to work as expected, `HJKL` on vim for
movements being one of them. I took the short route out by
creating a new layer with arrow keys on the home row:
```
default homerow:
H N E I
"nav" layer:
< v ^ >
```
The remaining commands in vim are largely mnemonics.
Navigating with home-row arrow keys also means that I can
use "HJKL" globally, to scroll a website, for example.
### Cutting down to 34 keys
A couple months into my ergo journey, I realized that I
could get away by moving my fingers even lesser. I moved
modifiers such as `Super`, `Ctrl`, `Alt` and `Shift` to the
home-row as QMK Mod Taps. The rest of the keys are cleverly
placed in layers, not too much unlike the Miryoku layout.
Even for someone that writes Rust (a symbol-heavy grammar),
I find 34-keys to be sufficient.
## Conclusion
I have been bitten by the ergomech bug.
|